Taking on your first timber framing job can be both exciting and daunting. Timber framing is a fundamental skill in carpentry that involves creating the skeleton of a structure using sturdy wooden beams. Getting it right is crucial because the frame forms the foundation for everything else that follows. With a few handy tips and some basic know-how, you can confidently build a strong and reliable frame.
To get started, you’ll need the right tools and materials. Having the appropriate gear makes the job easier and helps ensure that your frame is accurate and secure. It’s also important to understand the different types of timber you might use, as each has its own strengths and weaknesses. Choosing the right timber for your project can make all the difference in long-term durability and performance.
Once you’re equipped with the necessary tools and materials, following a clear, step-by-step guide will help you navigate through the framing process. From preparing your workspace to cutting and assembling your timber, every step is essential for creating a stable structure. Along the way, we’ll also highlight common mistakes to avoid and offer tips for ensuring your frame is as strong and durable as possible.
By the end of this guide, you’ll have the knowledge and confidence needed to successfully complete your first timber framing job. Let’s dive in and start building!
Essential Tools and Materials for Timber Framing
List of Must-Have Tools:
To successfully complete your first timber framing job, it’s crucial to have the right tools on hand. Here are some essential items:
– Hammer: Indispensable for driving nails and general carpentry tasks.
– Tape Measure: Necessary for accurate measurements, ensuring everything fits together perfectly.
– Circular Saw: Ideal for making straight cuts in timbers quickly and efficiently.
– Spirit Level: Ensures your frame is level and square, which is critical for structural integrity.
– Chisel Set: Useful for detailed woodwork and cleaning out joints.
– Drill and Bits: Required for making pilot holes and driving screws.
– Nail Gun: Speeds up the process of nailing timbers together, saving time and effort.
– Safety Gear: Includes goggles, gloves, and ear protection to keep you safe while working.
Types of Timber and Their Uses:
Choosing the right type of timber is critical for the longevity and strength of your frame. Here are some common types and their uses:
– Pine: A softwood that’s easy to work with, perfect for indoor framing where it’s protected from the elements.
– Hardwood: Such as oak or jarrah, it’s more durable and resistant to wear, making it ideal for outdoor structures or areas with high traffic.
– Treated Timber: Chemically treated to resist decay and termites, it’s suitable for any part of the frame exposed to moisture or pests.
– LVL (Laminated Veneer Lumber): Engineered wood that’s strong and stable, often used for beams and joists due to its ability to span longer distances without warping.
Step-by-Step Guide to Timber Framing
Preparing Your Workspace:
A clean and organised workspace is essential for a successful timber framing project. Start by clearing the area of any debris and setting up a solid workbench. Make sure you have ample lighting and ventilation. Gather all your tools and materials in one place so that everything you need is within easy reach. Double-check your plans and measurements before you begin to avoid any errors later on.
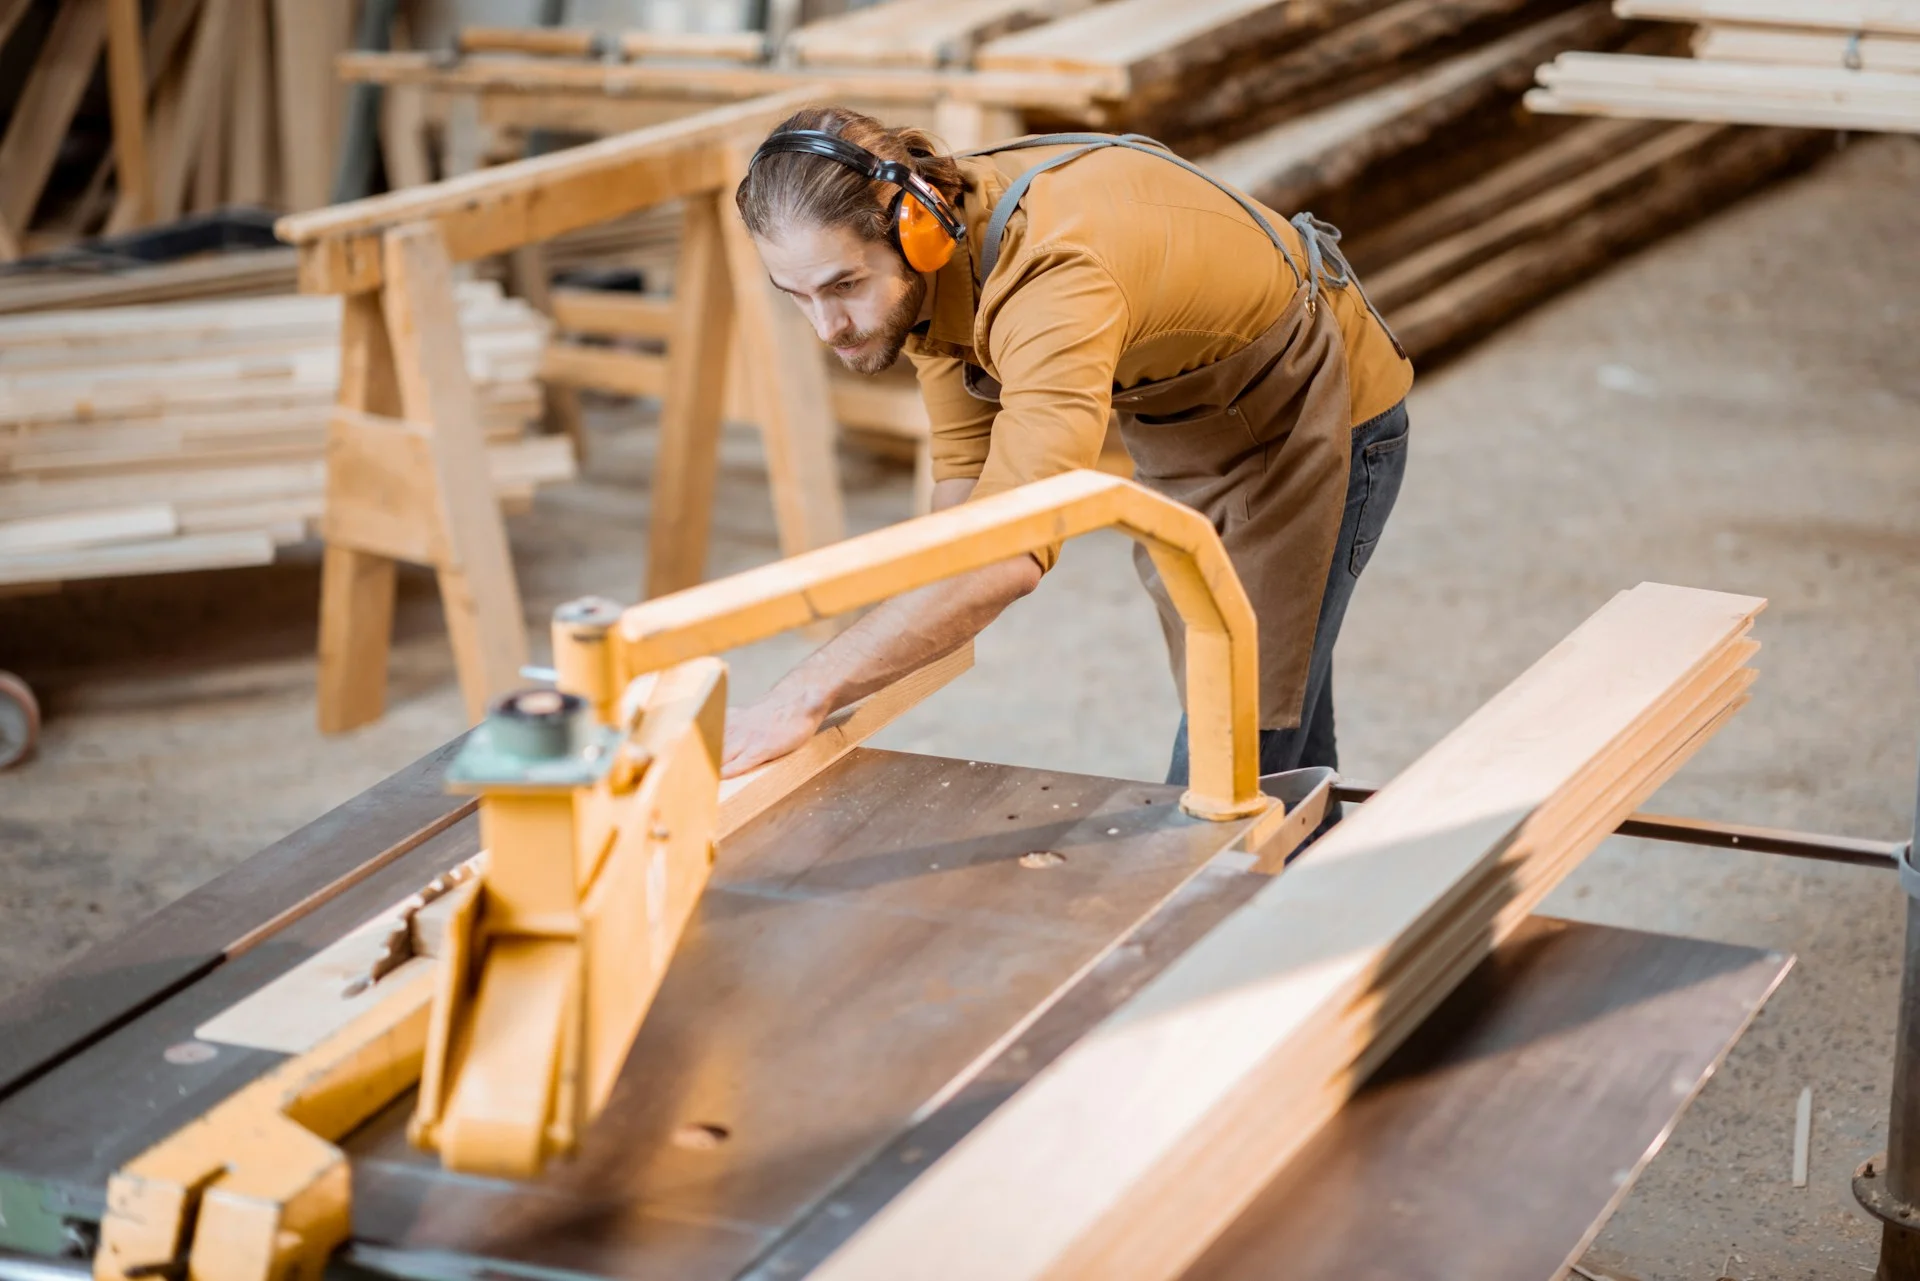
Cutting and Measuring Timber Accurately:
Accurate measurements are crucial for a sturdy frame. Always measure twice and cut once to minimise mistakes. Use your tape measure to mark the timber, making sure to note the correct lengths and angles. A carpenter’s square can help ensure your cuts are perfectly straight. When cutting, use a circular saw for long, straight cuts and a handsaw for smaller, more detailed work. Pilot holes should be drilled before screwing to prevent the wood from splitting.
Assembling the Frame:
Begin by laying out your cut timber pieces according to your plans. Start with the bottom plate and work your way up, fixing the vertical studs to the plates using nails or screws. Make sure each joint is tightly secured and flush. Use a spirit level to ensure everything is straight and true. As you add each new piece, check for level and alignment to maintain accuracy. Once the frame is assembled, inspect all joints and fastenings to make sure they are secure. This careful attention will ensure a strong, durable structure.
By following these steps, you’ll be well on your way to successfully completing your first timber framing job. Proper preparation, accurate measuring, and careful assembly are the keys to building a solid frame.
Common Mistakes to Avoid
Incorrect Measurements:
One of the biggest mistakes in timber framing is incorrect measurements. Failing to measure accurately can lead to gaps, misalignment, and a weak structure. Always double-check your measurements before making any cuts. Use a reliable tape measure and keep a carpenter’s square handy to ensure your angles are correct. Small errors can snowball into bigger problems, so take your time with this step.
Poor Joint Construction:
The joints are the backbone of your timber frame. Poorly constructed joints can compromise the whole structure. Common errors include not securing joints tightly enough and using the wrong type of joint for the load it needs to bear. Ensure you understand which joints are suitable for different parts of the frame and use appropriate fasteners to secure them. It’s usually a good idea to pre-drill holes to avoid splitting the timber and to use clamps to hold pieces in place while fastening.
Failing to Ensure Level and Square Framing:
Another common pitfall is not checking that the frame is level and square at each stage of the build. Use a spirit level throughout the process to make sure everything is straight. If you skip this step, you might end up with a twisted or leaning frame, which can cause problems down the line. Make it a habit to check for level and square after adding each new piece of timber.
Tips for Ensuring a Strong and Durable Frame
Proper Fastening Techniques:
Using the right fastening techniques is crucial for building a strong and durable frame. Secure each joint with suitable nails or screws, and make sure they penetrate deep enough to hold the timber together. For added strength, consider using construction adhesive along with mechanical fasteners. Pre-drill pilot holes where possible to avoid splitting the wood. A nail gun can make the job faster and ensure consistent fastening.
Using Braces and Supports:
Braces and supports provide additional stability to your frame. Use diagonal braces to strengthen corners and keep the frame from racking. Temporary supports can hold pieces in place as you work, ensuring that everything stays aligned. Don’t hesitate to over-engineer; it’s better to have too much support than too little. These added braces can also help distribute loads more evenly, reducing stress on individual joints and timbers.
Regularly Checking for Alignment and Stability:
Regularly checking the alignment and stability of your frame can help catch small issues before they become big problems. Use a spirit level and plumb bob to ensure everything is straight and true. Check your work at each step, particularly after adding new sections of timber. If any part of the frame starts to drift out of alignment, correct it immediately. Consistent checks can save you time and materials in the long run by avoiding the need for significant corrections later.
Conclusion
Building your first timber frame can be a rewarding experience if you take the time to do it right. By ensuring you have the essential tools and materials, following a careful step-by-step guide, avoiding common mistakes, and applying techniques for strength and durability, you’ll build a frame that stands the test of time. This foundation is crucial whether you’re constructing a garden shed, a pergola, or even the bones of a house.
The effort you put into preparing your workspace, measuring accurately, and assembling the frame meticulously will pay off in a solid and stable structure. Timber framing is a valuable skill that will serve you well in many carpentry projects. It’s a satisfying way to see your hard work turn into a functional piece of craftsmanship.
If you’re ready to take your timber framing skills to the next level, consider reaching out to Rifcon Building & Carpentry. We offer the expertise and resources you need to make your timber framing project a success. Let’s build something great together!